Reaching Maximum Accuracy Scanning With The Artec Leo - Part 2
In part two of this series of articles, we will provide you with valuable insights on how to set up and operate the Artec Leo scanner, to achieve maximum scanning accuracy, both when you use a scanner solely and employ extra metrology-grade devices.
Scanning Setup
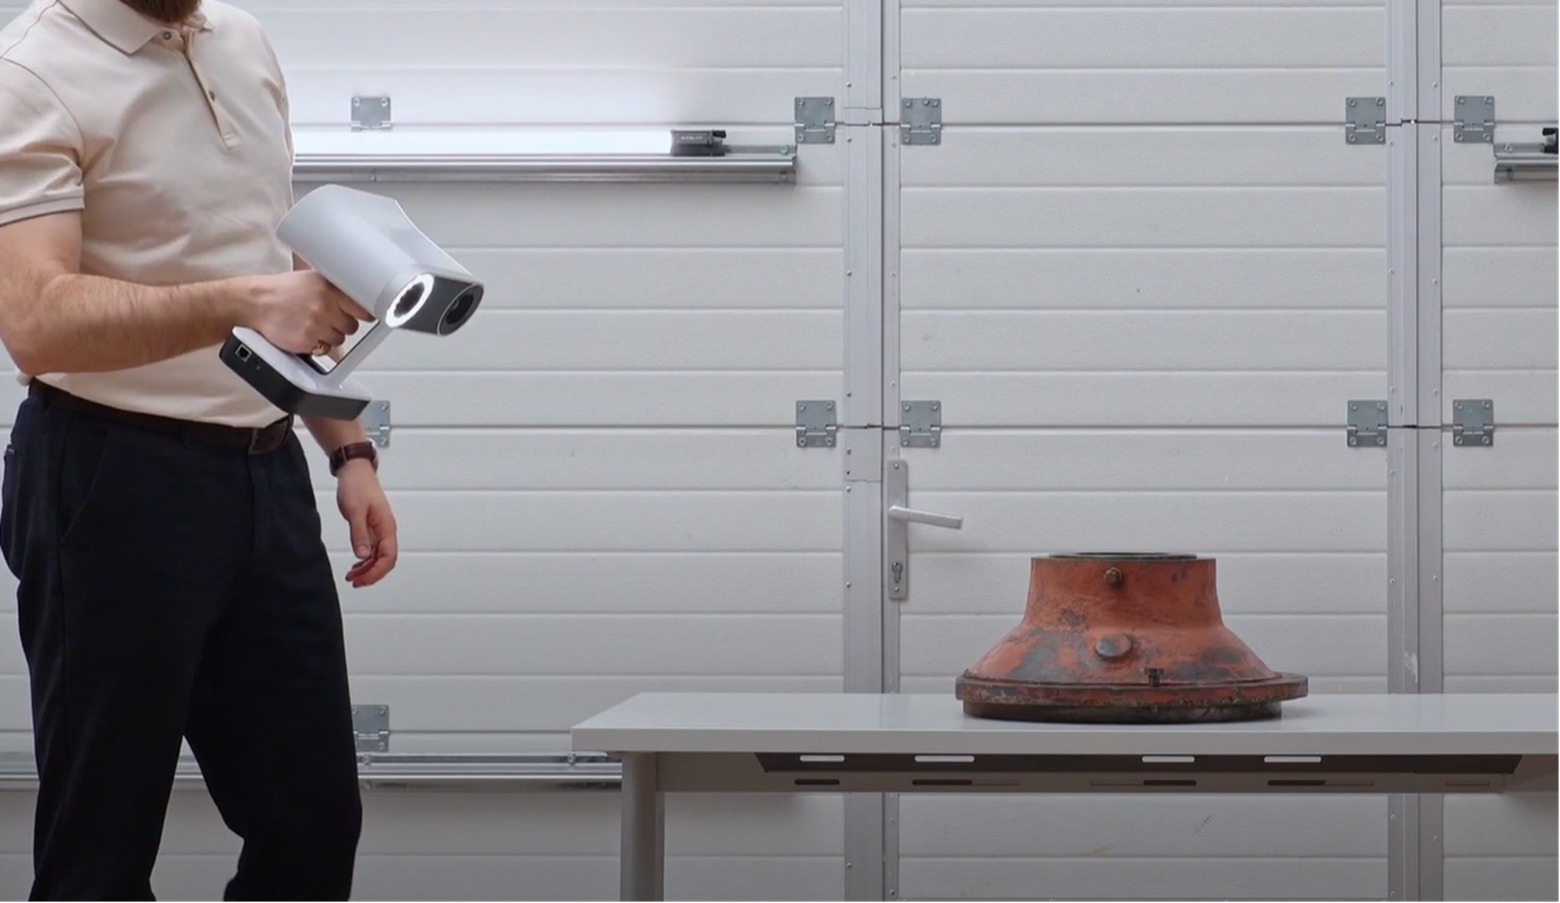
It will be much easier to maintain a proper scanning distance between Artec Leo and the object if you take care of the space around the object before scanning. This space must be sufficient to accommodate both you and the scanner.
The surface around the object must be feature-rich and easy to reconstruct.
Examples of a bad background include a surface located far away (> 0.9m) from the object with black parts, holes, and hair-like objects. Anything featureless (e.g. flat white table), glossy (e.g. metal components), or non-rigid (e.g. clothes) doesn’t help accuracy either. All of these will bring plenty of noise to the scene and worsen the registration.
It is of paramount importance that the scanning scene (object and background included) does not change its shape and position during the scanning process. If the geometry of the object and/or of the background changes during scanning, this will result in distorted data. The scanner will collect information about the scene in various modified forms, but it will not be possible to create an accurate 3D model from this data.
SCANNER PREPARATION:
Artec Leo Recalibration
Since March 2022, all Artec Leo scanners are delivered pre-calibrated and issued with a calibration certificate. However, every metrological device needs to be recalibrated regardless of whether it was handled gently or improperly, or transported recently.
The frequency of recalibration depends on the method with which the uncertainty of the measurement is calculated, for some, it is before every measurement, for some - once a year.
Another point that must be taken into account is ambient temperature.
The recalibration board and the scanner shall be left idle in the scanning environment for some time before recalibration (the bigger the temperature difference the longer the scanner and the board should spend in the new area).
If the scanner is often carried in and out of the room with ambient temperatures varying a lot (e.g. +20 and +5), a user needs to recalibrate it before each measurement in a new environment.
Please note that during production Leo is factory-calibrated for the standard temperature (20 degrees) only. So the more different the actual temperature is from +20 the less helpful and the less accurate the recalibration will be. However, it still makes sense to calibrate Leo before scanning in a non-standard temperature environment as it will still improve the accuracy of the scan.
Temperature Control
After the recalibration process is completed, you can start your scan, but please note that compliance with the temperature regime is important if the resolution and accuracy of the scan are a priority.
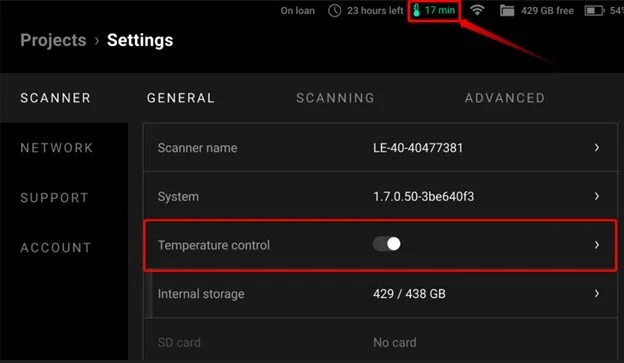
An effective way to ensure this temperature regime compliance is to use the “Temperature control” feature (available starting from Artec Leo 1.6 release).
The Temperature control heats the scanner up to an optimal temperature for 25 minutes and then maintains this temperature until the scanner or Temperature control is turned off.
Please note that this feature drains the battery 3 times faster than the normal mode.
In case “Temperature control” was enabled before recalibration for a certain amount of time (at least 25 minutes) - you will not have to wait during recalibration for the scanner to heat up.
For maximum accuracy, you should either start scanning immediately after recalibration or, if the pause between recalibration and scanning is inevitable, pre-heat the scanner before the scanning session, by putting it into the Preview mode.
SCANNING SETTINGS
Given that the optimal scanning distance for accurate scans is around 0.5 m, we recommend reducing the “Range” on Leo to 0.8 m. This will prompt the user to keep within the needed distance, and Leo won’t collect unnecessary additional information about surrounding objects. They bring noise to the scene and reduce registration accuracy. The only exception is if the background was designed specially for tracking.
To be constantly aware of the scanning distance, you can keep the “Distance” scanning overlay on. To check that all the areas of the object are scanned properly you can change the overlay to “Quality” and add more data if needed.
Switching off the “Optimize project size” option will ensure thorough coverage of difficult-to-reach surfaces if there are any.
The higher the overlapping between the frames the better, therefore the higher the FPS is set on the scanner the better. Otherwise, the user must move slower to increase frames overlapping.
SCANNING PROCESS
When accuracy matters, consider having several takes of scanning the same object (with the same settings); and estimate the mean value and standard deviation.
Above we talked about the preferred scanning distance of 0.5 m. Not only does the scanning distance matter, but the scanning angle does too! Avoid extreme angles to the surface: an optimal angle is within 20-45 degrees to the normal.
Ensure that you have good enough coverage of the part you are aiming to measure. Low coverage usually comes with low resolution, which leads to a big Error and low linear accuracy. Also, sphere and other primitive fitting works worse on objects scanned insufficiently as it depends on the number of points.
Don’t apply force to the scanner or accelerate it.
Avoid losing tracking. Frequent tracking loss is an indicator that you won't get good accuracy. Check the scanning distance, change the setup, or consider adding more features or spraying the object’s surface if the scanner often loses tracking.
An optimal orientation of the scanner is when it is positioned upright.
Rotating a scanner does not help accuracy - especially fast rotational movements. They will reduce overlapping between frames which can increase a registration error.
For better accuracy, it is important to always keep in mind your trajectory. Returning every 10-15 seconds to the previously scanned area of the object will help for better frame registration.
DATA PROCESSING
The accuracy of the final model is defined by the quality of Global registration. It, in turn, is dependent on the object’s features. At the beginning of the article, we explained how to ensure the presence of sufficient features within the scanner’s field of view during scanning. To make them work to their best during the data processing stage, consider the following workflow:
1. Run “Global registration” on all scans together in the ‘Separate” mode, while keeping the background on each of them.
Use appropriate settings of “Key frame ratio” and “Search features within”.
2. Remove the background from all the scans except for one.
3. Align all scans.
4. Run “Global registration” in the “Collective” mode on all of them together while keeping the background on one of the scans. Consider using the “Lock frames/Lock object” feature.
5. Delete all remaining backgrounds.
6. Run “Outlier removal” (optional), “Smart fusion”, “Mesh optimization”, etc.


