How 3D Scanning Crushes Inaccuracies at Manufacturing Companies
Manufacturer of mining and construction of spare parts, Element was founded in 2017, with a clear cornerstone of its business being efficiency and accuracy. Element was started by mining experts from Russia and Finland, and has become an international manufacturing company for spare parts and replacement pieces and a service provider for the mining sector. The company has grown to 120 employees, and its sales and partnerships extend from Russia to China, Finland to Kazakhstan, and Eastern Europe to Scandinavia.
The challenge: Using Artec Eva for quality control of parts during the time of production, as well as scanning worn parts for restoration and repair.
The solution: Using Artec Eva, Artec Studio, and Geomagic for SOLIDWORKS.
The result: The manufacturing company relies on Artec Eva for quality control and reliable product accuracy.
The Results of the Challenge
One thing has remained unchanged through changes, developments, and expansion: Element has always relied on 3D scanning technology in its work. The scanner of choice? Artec Eva.
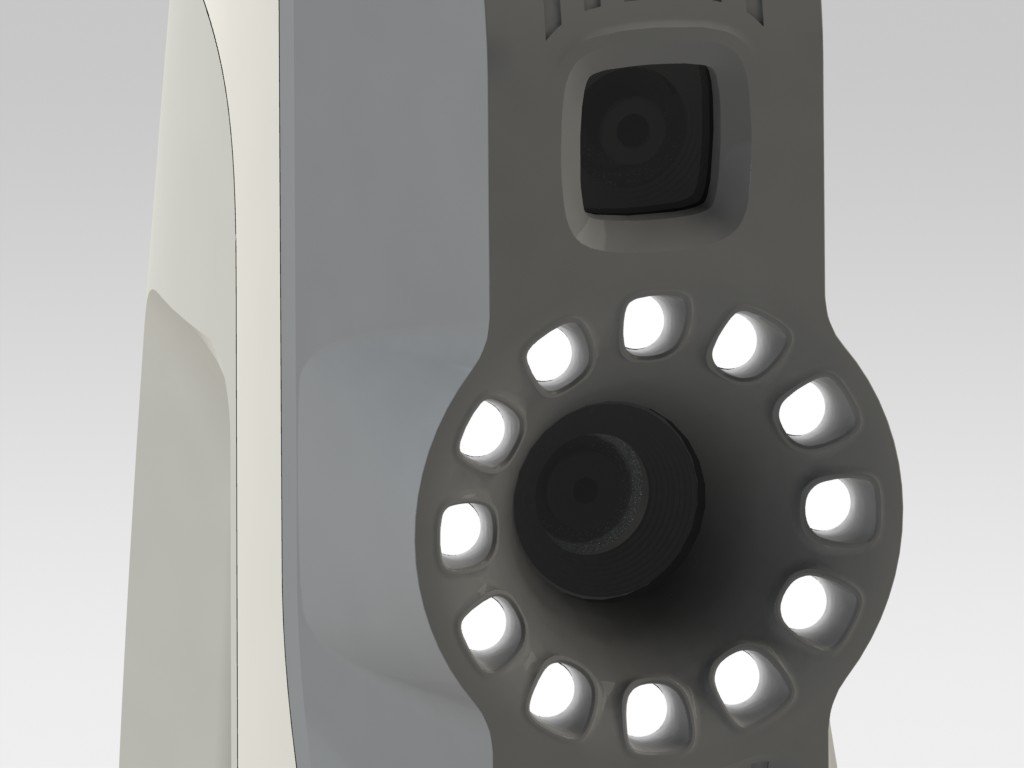
Artec Eva is a lightly structured 3D scanner that provides users with quick, accurate, and textured models. Artec Eva works best with medium-sized objects and is perfect for capturing precise measurements in high resolution. This 3D scanner is the ideal solution for scanning all sorts of things, including black and shiny objects, which are notoriously difficult to scan.
Eva fits a variety of industries, from automotive to medicinal sectors. Eva's vast capabilities allow users to reverse engineer scanned objects and detect quality control issues.
When Element was created, they never looked back. "As a tech start-up, we decided to invest in the modern technology from the very beginning," Production Director Sergey Kolesnikov states. "We've never worked without 3D scanning technology."
Scanning engineer Alexander Slatvickiy is at the frontline of Element's 3D scanning operations and has been using Eva since he began working for the company in 2018. Alexander mentioned that learning how to scan was a straightforward process for him.
"The training was quick and easy. This is thanks to how easy and convenient using Artec Studio is." Slatvickiy further states that because of how easy it was to use Artec Studio, he could scan items independently after two days of practice under his mentor's supervision.
Kolesnikov noted that the primary purpose of their 3D scanning is for quality control. For example, scanning is used to ensure the precise measurements of the mantles of cone crushers, a critical machine used for mining and processing ore.
The cone crushers are created via the sand casting method, and the mantle on most of these cone crushers is made from Manganese Steel, an alloy discovered in 1882.
The manufacturing process of cone crushers usually involves a couple of weeks. Once the parts are ready, samples are taken for accuracy testing.
"First, we scan all surfaces of the sample with Artec Eva," Slatvickiy mentions. "We then upload the scans to Artec Studio and make sure that no surfaces have been missed, as the scanned surfaces are displayed in real-time."
After scanning the samples, a polygonal model is created within Artec Studio. The excess surfaces from the surrounding objects are erased before global registration and the merging, and tools are implemented to create an STL surface model.
STL models can be used to ensure quality control in Geomagic for SOLIDWORKS. The new models are then compared to the original models of the parts or highly accurate drawings.
Slatvickiy explains that they plot the sketches per section locations and use SOLIDWORKS tools for measurements. The advantageous features of Geomagic are the Deviation Analysis tool applied to visualize any deviation found within polygonal models from the original profile. The Orient Mesh tool ensures that the polygonal model's basic planes align with the solid model's basic planes.
The entire process of scanning, processing, modelling, and comparing models takes roughly four hours, but can be as quick as 30 minutes.
If you are interested in purchasing an Artec 3D scanner, contact My engineering today! We will be happy to find out exactly what you need.
*Original article and content provided by https://www.artec3d.com/


